
Soil and water testing, from laboratory to IoT
How to test, which method to use, how to sample, and a checker for irrigation water quality.
Test first. Then decide.
Fertiliser, lime, gypsum, irrigation and crop choice all depend on what is in your soil and water. Testing turns guesses into decisions, and repeat testing shows whether your actions worked.
This page explains the main testing techniques, from the laboratory to IoT sensors that report to your phone, how to take a good sample, and how to check whether your irrigation water is suitable.
Soil and water testing techniques
Use the laboratory for accuracy and the field tools for speed and trends. They work best together. Scroll the table sideways on a phone.
| Method | What it measures | Strengths | Limits |
|---|---|---|---|
| Laboratory soil test | pH, EC, organic matter, texture, N, P, K, zinc, other nutrients | Most accurate; trusted basis for fertiliser advice | Takes days; one point in time; needs a good sample |
| Field test kits and strips | pH, nitrate, phosphorus, potassium (rough) | Fast and cheap for screening | Low accuracy; colour reading varies by person |
| Handheld pH and EC meters | Soil-water or solution pH, EC, temperature | Quick checks of water, nutrient solution and soil slurry | Need calibration and clean probes; read one spot |
| In-ground IoT sensor probes | Moisture, soil temperature, EC; pH and indicative N, P, K in some probes | Continuous data, alerts and trends by depth, on your phone | Local to the probe; needs calibration for your soil; NPK values are indicative |
| Inline water sensors | EC, pH, temperature, flow in tanks, pipes and hydroponic reservoirs | Real-time alarms for fertigation and hydroponics | Probes drift and foul; regular cleaning and calibration |
| Satellite and drone indices | Crop stress, moisture and bare-soil patterns | Covers the whole field and shows where to sample | Indirect; confirm with ground tests. See AgriSense |
| Laboratory water test | pH, EC, TDS, sodium, chloride, boron, bicarbonate, nitrate, hardness, bacteria | The only reliable check of sodium hazard and contaminants | Needs a clean sample bottle and quick delivery |
IoT soil monitoring
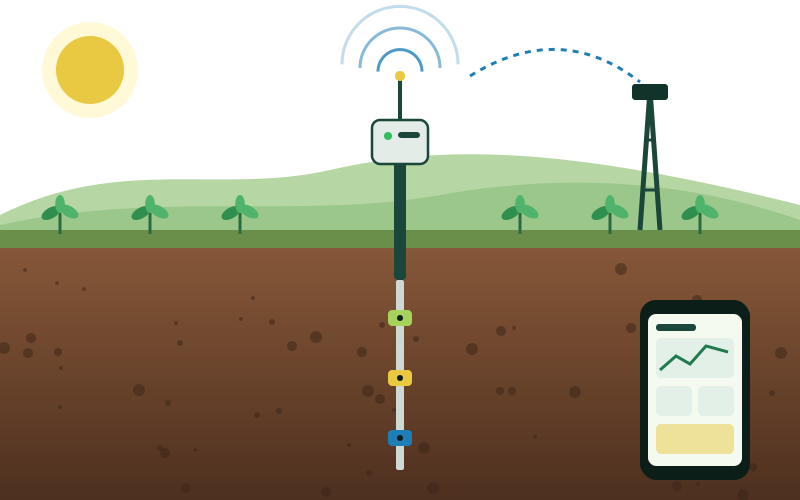
An IoT probe sits in the root zone and sends readings by Wi-Fi, LoRaWAN or Bluetooth. Our AgriSense Soil Scanner collects the data in your account, scores soil health and raises alerts.
- Choose the zones. Place probes in each management zone of a field, not at the edges or wet spots.
- Set the depths. Use two or three depths in the root zone, for example 15, 30 and 60 cm for many field crops.
- Make good contact. Push the probe in so soil touches the full sensor, with no air gaps.
- Calibrate. Compare probe moisture with an oven-dry sample and probe pH or EC with a known solution or the lab result.
- Set alerts. Alert at dry-down, waterlogging, high salinity and low battery. Review trends weekly.
- Maintain. Check batteries and cables, clean probes and re-check calibration each season.
Be realistic about NPK sensors
Low-cost nitrogen, phosphorus and potassium readings are indicative only. Use them to see changes and trends, and base fertiliser decisions on a laboratory test.
How to take a good soil sample
A test is only as good as the sample. Most wrong fertiliser advice starts with a poor sample.
- Divide the farm into uniform areas. Separate fields or zones that differ in soil colour, slope, crop history or yield.
- Walk a zigzag. In each area take 15 to 20 small cores or spade slices across the area. Avoid field edges, manure heaps, canals and wet spots.
- Sample the right depth. Take 0 to 15 cm for most field crops. Take 15 to 30 cm as a second sample for deep-rooted crops and orchards.
- Mix in a clean bucket. Combine the cores, remove stones and roots, and keep about 500 g.
- Dry, bag and label. Air-dry in shade, use a clean bag, and label with name, field, depth, crop and date.
- Send quickly and repeat. Send to an accredited laboratory. Test every one to three years at the same time of year, and not right after fertiliser.
Reading your results
- pH. Many crops like about 6 to 7.5. Many soils in Pakistan are alkaline and calcareous, so manage nutrients, especially phosphorus and zinc, with care.
- EC (salinity). Higher values mean more salt. Sensitive crops suffer first. High EC needs drainage and leaching, not more fertiliser.
- Organic matter. Below about 1% is low. Add compost, manure and residues.
- N, P, K and micronutrients. Compare with crop-specific critical levels from local research. Ask an agronomist to turn the numbers into a plan.
Water testing and the irrigation water checker
Bad water harms crops, soil and equipment. Enter your readings to see how suitable the water is for irrigation, drip systems and hydroponics. A handheld EC and pH meter is enough for this first check.
Irrigation water checker
Based on FAO irrigation water quality guidelines. Leave TDS blank to estimate it from EC.
| Test | Why it matters | How |
|---|---|---|
| EC and TDS | Salinity that reduces crop yield and builds up in soil | Handheld meter, inline sensor or lab |
| pH | Nutrient availability and drip emitter clogging | Handheld meter or lab |
| Sodium adsorption ratio (SAR) | Sodium can damage soil structure and slow infiltration | Lab (sodium, calcium, magnesium) |
| Chloride and boron | Toxic to sensitive crops and trees | Lab |
| Bicarbonate, hardness, iron | Scale and blockages in drip lines and nozzles; affects pH | Lab or test kit |
| Nitrate | Counts as free nitrogen; high levels in drinking water are a health risk | Strip kit or lab |
| Bacteria (coliform, E. coli) | Food safety for salad crops and microgreens | Lab, in a sterile bottle |
Test irrigation water at least once a year and again if the source, season or pumping level changes. Use a clean rinsed bottle, fill it from the running stream and keep it cool until it reaches the lab.